1. Disconnect the negative battery cable.
2. Drain the engine coolant. (See ENGINE COOLANT REPLACEMENT [L8, LF, L3, L3 Turbo].)
3. Remove the shroud panel. (See SHROUD PANEL REMOVAL/INSTALLATION.)
4. Remove the cooling fan component. (See COOLING FAN MOTOR REMOVAL/INSTALLATION [L8, LF, L3].)
5. Disconnect the ATX oil cooler hose from the radiator. (ATX)
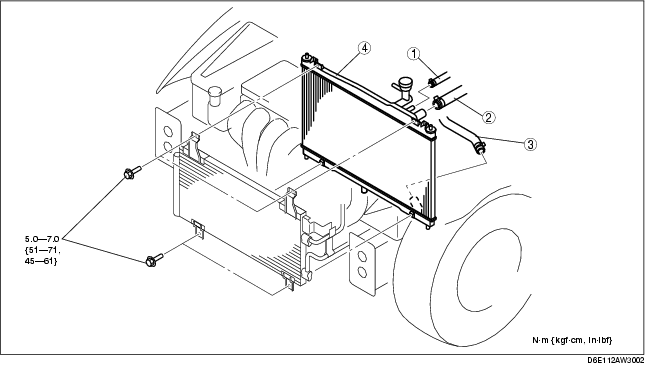
6. Remove in the order indicated in the table.
7. Install in the reverse order of the removal.
8. Refill the engine coolant. (See ENGINE COOLANT REPLACEMENT [L8, LF, L3, L3 Turbo].)
9. Inspect for engine coolant leakage. (See ENGINE COOLANT LEAKAGE INSPECTION [L8, LF, L3, L3 Turbo].)
10. Inspect the ATF level. (ATX) (See AUTOMATIC TRANSAXLE FLUID (ATF) INSPECTION [FS5A-EL].) (See AUTOMATIC TRANSAXLE FLUID (ATF) INSPECTION [JA5AX-EL].)