 |
ac30zw00000257
TRUNK SIDE TRIM REMOVAL/INSTALLATION [(E)]
id0917008031x2
1. Disconnect the negative battery terminal. (See NEGATIVE BATTERY TERMINAL DISCONNECTION/CONNECTION [(E)].)
2. Remove the following parts:
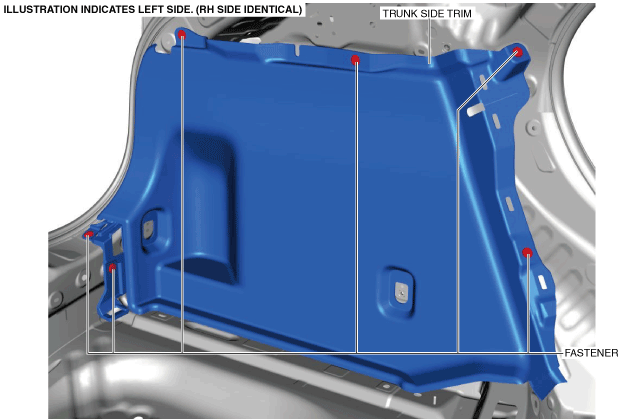
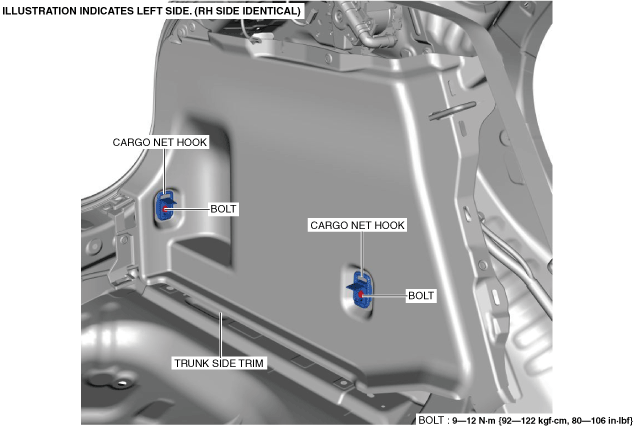
3. Remove the bolts.
ac30zw00000257
|
4. Remove the cargo net hooks.
5. Remove the fasteners.
ac30zw00000258
|
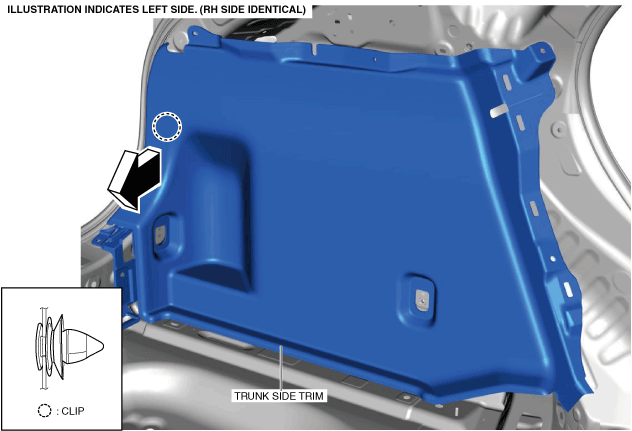
6. Move the trunk side trim in the direction of the arrow shown in the figure while detaching the clip. (See Trunk Side Trim Installation Note.)
ac30zw00000259
|
7. Remove the trunk side trim.
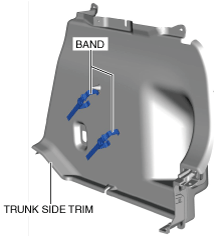
8. When replacing a band, remove it from the trunk side trim. (with band)
ac30zw00000260
|
9. Install in the reverse order of removal.
Trunk Side Trim Installation Note
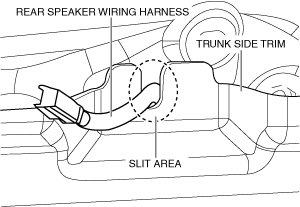
1. If the rear speaker wiring harness is routed incorrectly, the trunk side upper trim will interfere with the rear speaker wiring harness when installing the trunk side upper trim which could damage the rear speaker wiring harness. When routing the rear speaker wiring harness, route it through the slit area shown in the figure. (RH only)
ac30zw00000261
|